
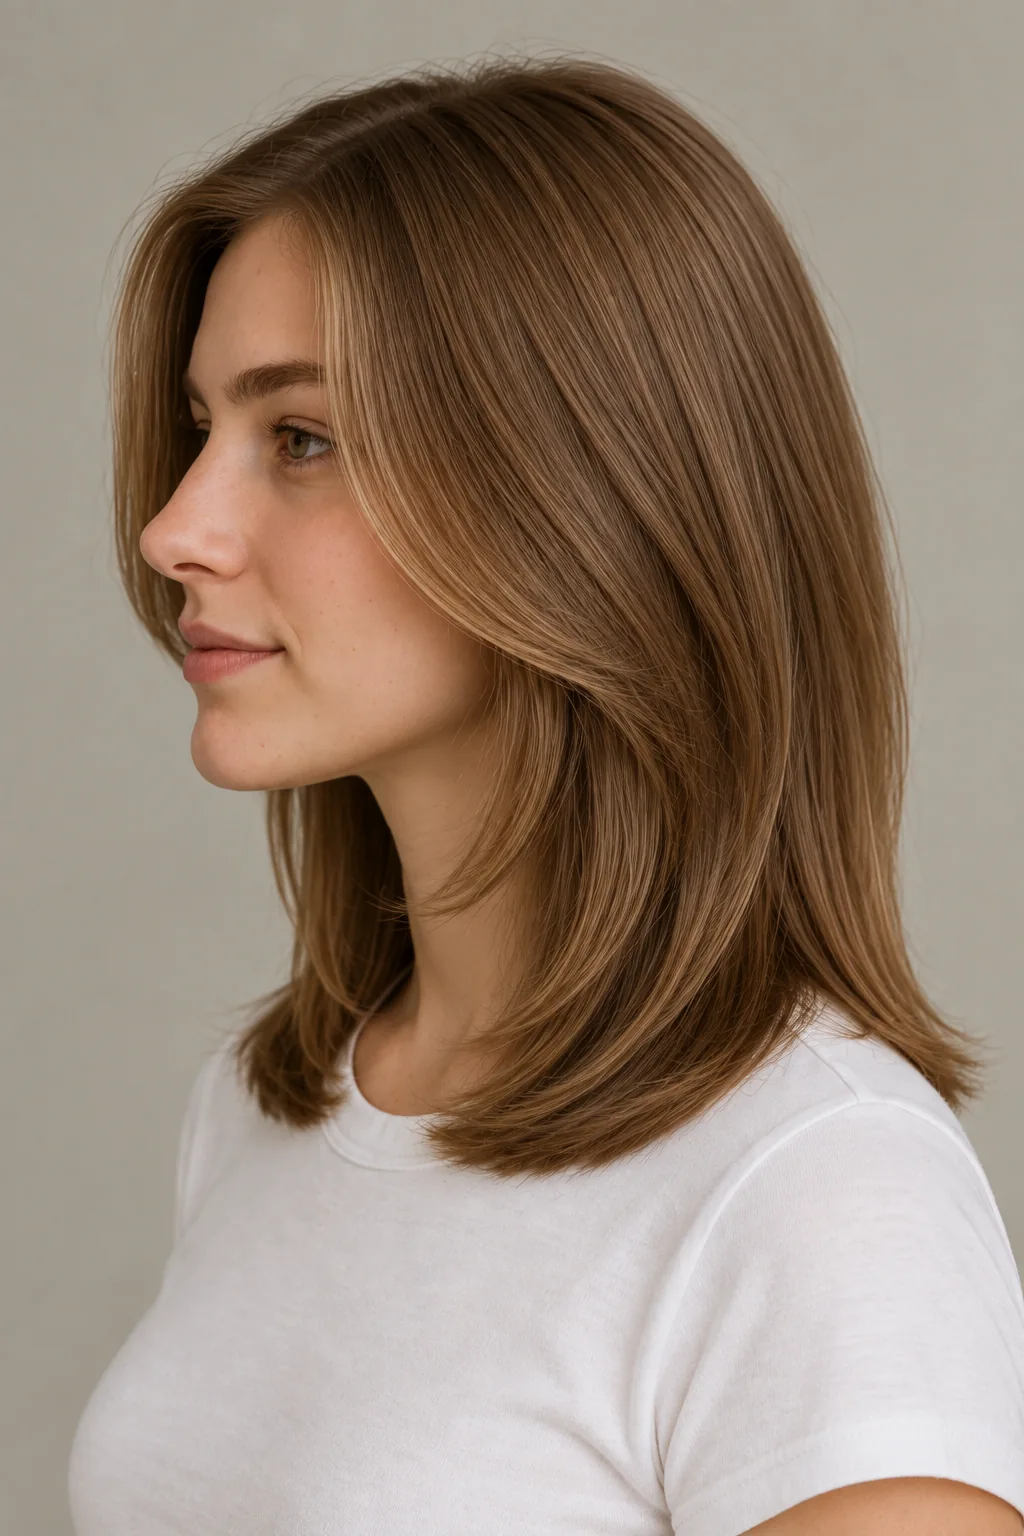
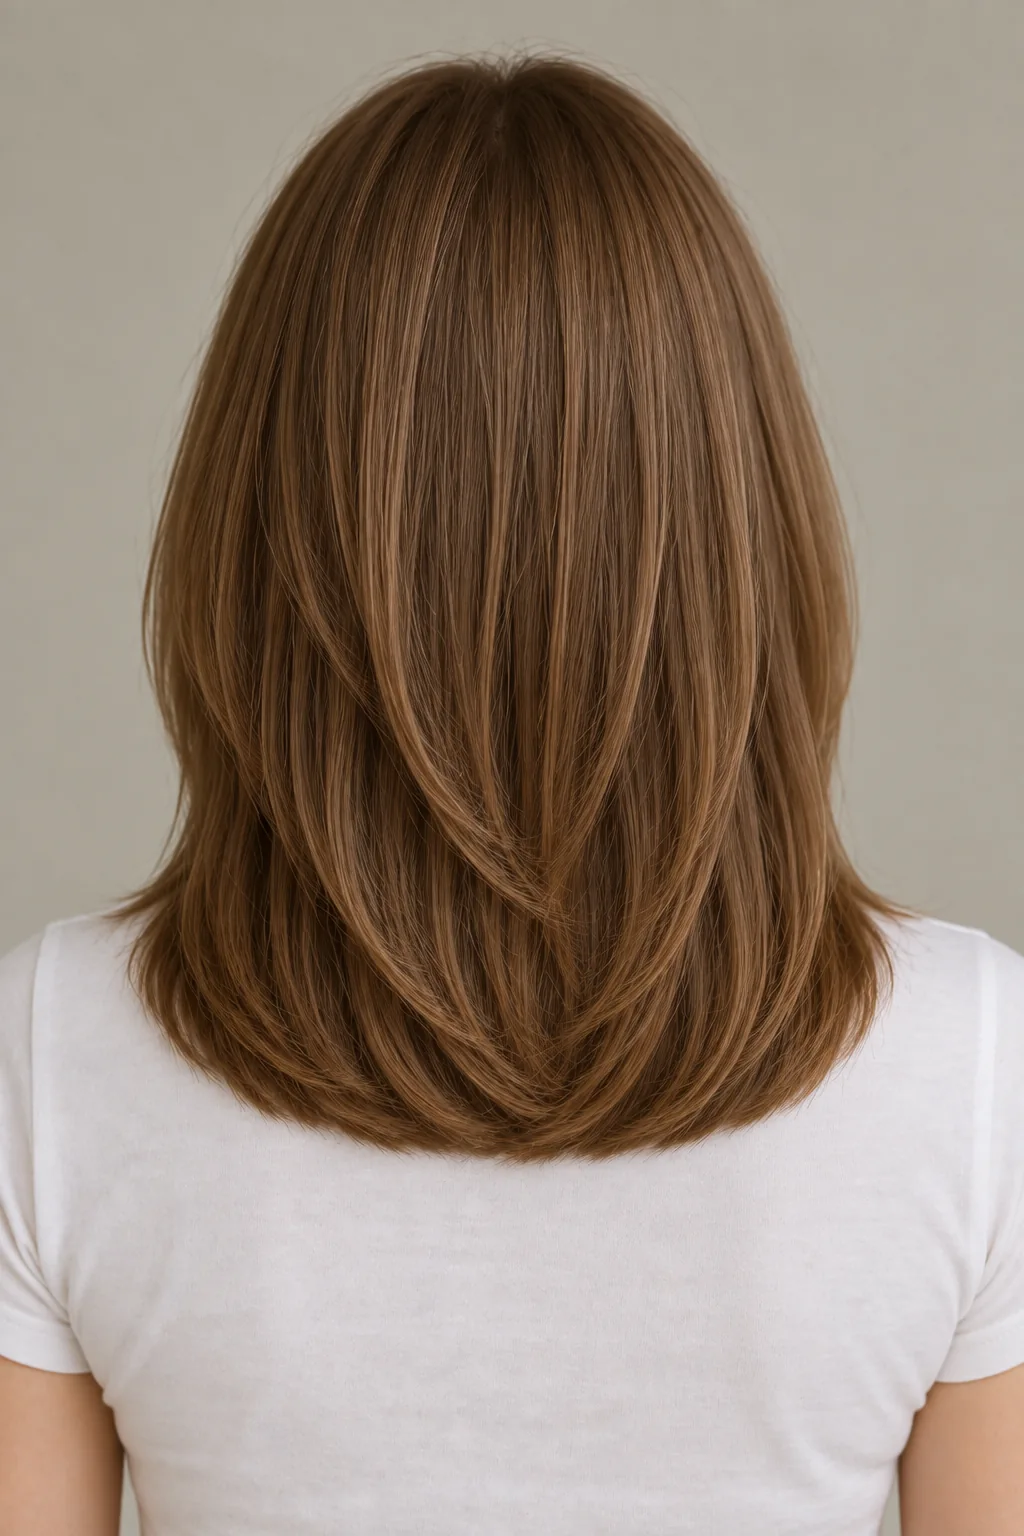
Give the front and back different jobs
The C-cut takes its name from the curved line of the face framing. In this collarbone-length version, long front pieces bend inward near the jaw and blend into the lower lengths. The back has a quieter role: it holds a fuller outline with low, subtle layering. You do not need short layers everywhere to make the front move.
PureWow’s interviews with Charlie Gouveia and Scott Fabian describe the C-cut, also called the curve cut, through its blended layers and inward shape while retaining much of the overall length. That makes a useful starting point, but “keep my length” still needs a specific conversation about the shortest front section.
Look at the three views together. The front explains where you want the curve, the side shows its connection to the base and the back establishes the fullness you want to preserve. A photograph from only one angle can leave those decisions unclear.
Check the front before it is shaped
A section that curves inward can appear shorter than its actual length. Ask your stylist to show where the proposed front piece ends when it hangs naturally, before a brush lifts it into a bend. Then compare that length with your usual ear tuck and ponytail.
This reference has an open forehead and long face framing, not a short fringe. If you want long curtain bangs as well, identify where that additional section should begin and end. Calling both features “face framing” can hide an important difference in daily use: one may tuck away easily while the other falls loose.
Choose the starting point on your own hair. You might prefer the curve near the jaw, or a lower, quieter transition. There is no requirement to cut a cheek-level piece simply because another C-cut photograph includes one.
Keep enough hair at the lower outline
Front layers and overall thinning are separate decisions. If your ends already look sparse, ask whether the back can remain mostly one length while the front is softened. Shortening more sections through the back may remove fullness you wanted to keep.
| What you bring to the consultation | What to check |
|---|---|
| Fine strands or sparse ends | Whether fewer back layers preserve a substantial lower edge. |
| Thick lengths that feel heavy | Where internal weight can be adjusted without hollowing out the perimeter. |
| Old short face-framing layers | Which pieces already sit above the planned curve and need time to grow. |
| Waves that turn away from the face | How the front looks naturally, rather than only after inward styling. |
| Curls or coils | The dry shape and shrinkage of the proposed front sections. |
The curve can change the impression of movement, but it does not add hair. Discuss the actual density left at the ends rather than assuming layering always creates more volume.
Decide which part of the curve matters most
A lower front starting point, a fuller back or a smaller bend can make this version easier to incorporate into your routine. Select requests for your stylist below. They carry into the salon card and do not change the AI preview’s reference.
A C-cut is not automatically a perm
The haircut establishes the connected lengths. The inward shape in this reference is a blow-dried finish. PureWow’s styling guidance describes using a round brush to emphasize the curve; that does not mean the bend becomes permanent once the layers are cut.
Ask for a demonstration of the front sections and how much shaping the lower ends need. Notice the brush direction and how strongly the hair is curved. If heat is involved, follow the tool instructions and use appropriate heat protection. A soft inward line does not require every section to become a tight curl.
Some salons may use similar language for a chemical styling service. If that is offered, clarify that it is separate from the haircut and ask the stylist to explain the expected result and suitability for your hair before deciding. An AI preview cannot establish whether such a service is appropriate.
Collarbone ends may refuse to point one way
At this length, the ends can brush against the shoulders and turn outward even while the front layers curve inward. Changes in posture, clothing or your natural wave can affect the direction. That movement does not automatically mean more layers are needed.
Ask to see the cut after it settles in your usual position. If you strongly prefer the ends to avoid your shoulders, discuss the tradeoff of a slightly different length. Alternatively, keep the collarbone target and accept some mixed movement between styled days. Repeatedly adding heat is not the only response to a bend you did not expect.
Test the front in the ways you actually wear it
Put the front behind your ears, then try your normal tie position. Check the shorter pieces rather than looking only at the overall length. Tell your stylist if you need everything secured for work or exercise, or if a few loose pieces are acceptable.
As the front grows, the curve may begin lower and feel less defined. Refresh that section when its landing point stops working for you, while maintaining the base separately. If you want less layering later, preserve the shorter pieces and selectively trim the longer outline. Cutting the entire shape back to the reference each time will retain the original difference.
Describe the outline behind the curve
I’d like a collarbone-length C-cut with long connected face framing, a center part and a full back outline. Please show me the shortest front piece without curling it. Keep the back layers subtle, check my usual tie and explain how the front will look without the inward blow-dry.
Show the back reference alongside the front so that the request does not turn into a much more layered cut than you intended.
Prepare my C-cut salon card →Questions about C-cut layers
Is a curve cut another name for this?
The terms are often used together, but references vary in length and layering. Specify the collarbone base and long blended front shown here rather than relying on the name alone.
How is it different from Farrah-style feathering?
This reference bends inward toward the jaw with modest volume. The Farrah-inspired reference sweeps outward into larger wings. Both use layers, but their finished direction and proportions are different.
Can it work without bangs?
Yes—this version leaves the forehead open and keeps the front long. Adding a shorter fringe is a separate choice, not a requirement for a C-shaped frame.